I mentioned in a few posts ago that my latest project was the circle skirt from the Great British Sewing Bee book, so I thought I'd update you on my progress. I'm very, very nearly there...so I thought I would let you know how I'm getting along.
 |
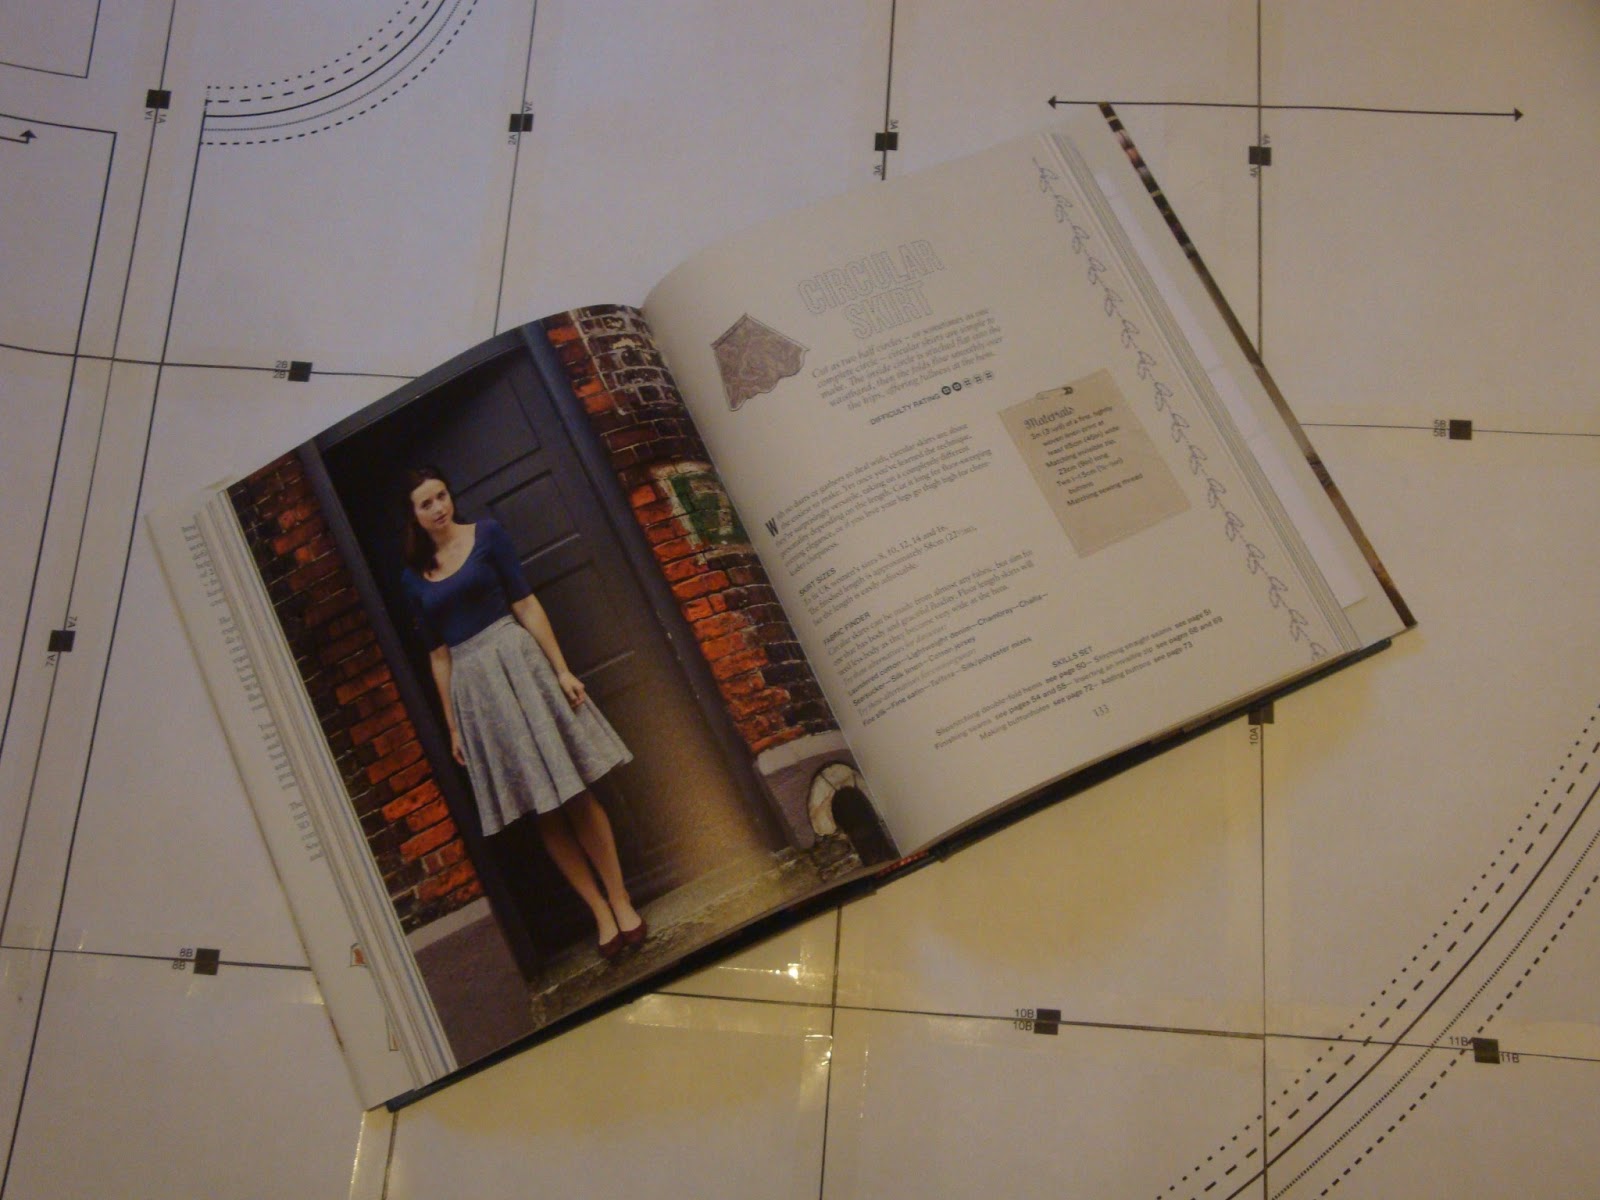
| Circle skirt from the Great British Sewing Bee book |
As with my previous pattern project, the summer top, I used the downloadable pattern from the Sewing Bee book. The instructions were all in the book, so once I had prepared my pattern, I was ready to work directly from the instructions in the book. This was a level 2 difficulty rating, of a maximum of 5, but there was certainly plenty to challenge me. I think I'm probably a bit mad in my sewing - I tend to just think to myself 'yes, I'm sure I can do that!' and launch into making things without thinking too hard about it. But I don't think that's too bad a thing - otherwise, I'd probably be too scared to try anything new!
There's not too many steps to this project, but they certainly give plenty of opportunities to learn new skills for a beginner...and for me, lots of chances to play with the stitch ripper!! There were two main new challenges for me...
I know I have (sort of!) already done this before, but this time, I really needed the zip to be properly concealed. In the bag, it didn't really matter, but obviously in a skirt, if the zip isn't concealed, it can be quite glaring.
Some of the instructions mentioned that to insert a concealed zip, you needed a special invisible zipper foot. Obviously, that's not something I have, and it looked a bit expensive, so I got the normal zipper foot out of the case for the very first time, and started googling! Embarrassingly, I actually had to find a tutorial on how to put the foot on, let alone how to use it! However, once I had managed to attach the foot, the instructions that I found on various helpful blogs were actually super simple and easy to follow. If you want to know how to put in a invisible zipper with a normal zipper foot, I recommend these quick tutorials on Sew Serendipity and BurdaStyle.
However, during insertion, there was a bit of a catastrophe, as you can see below. I was getting close to the end of the zip, which is a bit more difficult due to the fastener, and I managed to get another bit of fabric gathered up in the sewing. Not a good look. Once that happened, it all went to bits (not literally, fortunately!), and really getting it sewn on in the end was almost a miracle, because I had to rip and redo so many times.
I got there in the end though, and here we are - a concealed zip!
When I first looked at pattern I didn't actually notice that I was going to have to learn how to make a buttonhole - oops! However, out came the handy sewing machine guide, and I discovered that I actually have a buttonhole function on my machine!
The key thing with making buttonholes is to ensure that they are the right size for your buttons! They need to be fractionally bigger than the buttons, to ensure that you'll be able to squeeze them through. I used tailors chalk to mark them out before attaching the buttonhole foot and sewing them in. This is so important to ensure that they're even and that the buttons will fit properly. Then it's just a matter of using the stitch ripper to make the holes for the buttons to fit through.
Buttons attached, and now all I need to do is finish off the hem. A job for the weekend, I think...!


No comments:
Post a Comment